

As a professional designer trained in all the fancy-shmancy technical programs, I resisted trying Canva for the longest time (like WAY too long!). I thought there was no way it could match the tools I was using – boy, was I wrong! I instantly fell in love with Canva, in part because of its amazing tool library but mainly because of how it made design quick and easy! If you haven’t tried Canva yet, prepare to have your mind BLOWN and grease the tracks ‘cause the wheels in your head will start turning thinking about all the ways you can use Canva to up-level your marketing (without blowing the budget on a bunch of fancy programs or a designer!). In this quick video, I’ll walk you through the basics of Canva by showing you how to create your very first Instagram post. Get excited!
Note: If you haven’t yet, start by heading to Canva.com and following the prompts to create a free account.
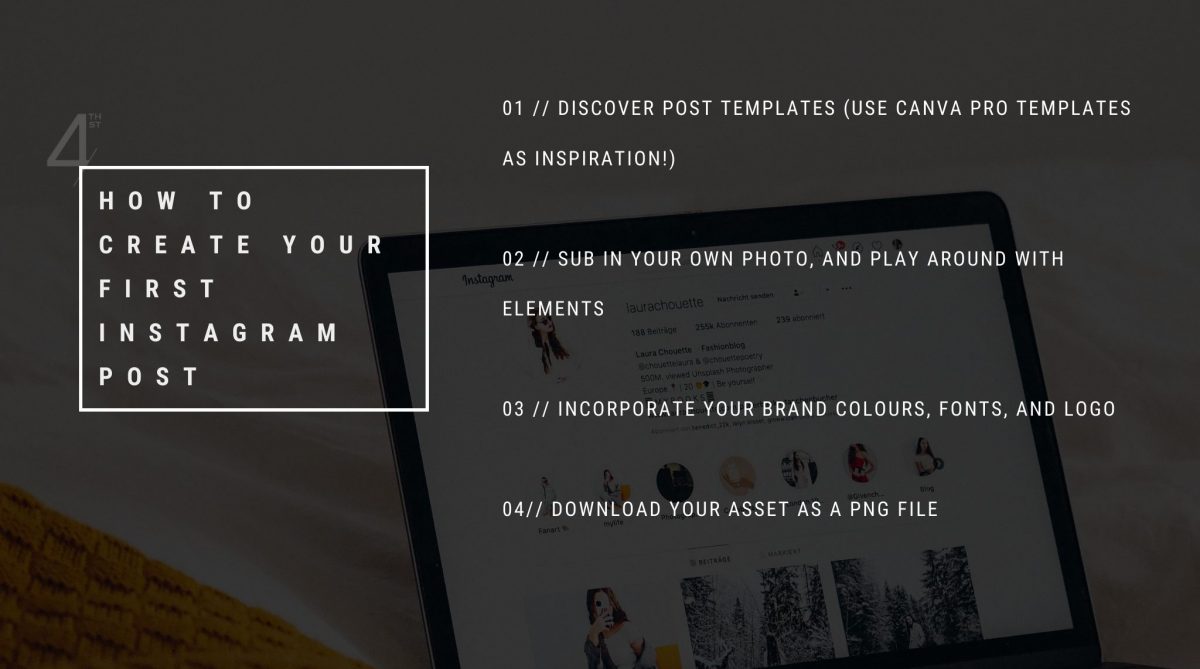
ONE | DISCOVER TEMPLATES
Once you’ve created your account, you’ll be directed to your home base. Here, you’ll see some options on the leftside toolbar, suggestions for new types of designs to try, and any of your recent designs. To create a new design, head to the top righthand corner and click the “Create a Design” button.
One of the great things about Canva is that you don’t have to know the exact dimensions of your design. For the sake of our example, simply select or type in “Instagram Post” and you’ll be taken to your workspace. Now that we have our blank canvas, check out the leftside toolbar. The first option is “Templates.” Click on this tab and you’ll see a large selection of Instagram post templates. Click on one, and it will automatically populate right into the canvas. Like magic!
Pro Tip: Many templates are only available for use with a Canva Pro account, but there are some free versions. You can always use the Pro templates as inspiration – you just won’t be able to download them without a Pro account.
TWO | PHOTOS AND ELEMENTS
Next, play around with changing out any photos (sometimes used as backgrounds) and other elements. You’ll find the “Photos” tab in the leftside toolbar. Use the search bar to find a suitable image, then drag it so it hovers over the current image in your template – Canva will pop it into place for you. Double click on the image to move it around within the frame. You can also upload your own media. Click “Edit Image” to play around with the brightness and contrast – but don’t overwhelm yourself. You can get more familiar with these additional tools over time.
The “Elements” tab (located in the leftside toolbar) contains shapes, icons, graphics, and more! To use an element, simply click on it and it will pop straight into the template. Click on the corners of your selected element to resize it. You can also right click and copy/paste to duplicate an element.
The selections and possibilities are endless, and you can make your template as simple or complicated/layered as possible. (Although we suggest keeping things simple to start!)
THREE | COLOUR AND FONTS
Changing the colours and fonts within your template is where you’ll begin to “brand” your design. (If you haven’t yet selected your brand colours and fonts, a great place to start is with our quick and easy brand style quiz!) Change the colour of elements and fonts using the colour picker tool. Have fun with the colour slider and adjust shades – or if you know the hex code of your brand colour, simply pop it in.
Play around with fonts and explore Canva’s many options. Try typing in a descriptive word like “fancy,” “simple,” or “modern” – Canva will populate appropriate options for you! You can change your font size by clicking and dragging the corner of your text box or by typing a specific number into the size bar.
If you notice a dotted line around 2 or more elements, it means they’re grouped together so they can be moved as one. Simply select and right click to ungroup. To group 2 or more elements, select your first element and, while holding down the shift key, select your second element. Keep holding down the shift key as you right click to group.
FOUR | DOWNLOADING YOUR ASSET
Once you’re happy with your template, head to the top right corner and click the “Download” button. You’ll want to download your Instagram post as a PNG file, then send the image to yourself by email, AirDrop, Google Drive, Dropbox, etc. – whatever’s easiest for you.
Remember, if you can select a template and change the image, colours, and fonts, you can start designing assets you can use for your business! Once you get comfortable with the basics, you can start exploring additional tools, like adjusting transparency, incorporating animations, and even creating videos! Make sure you check out the amazing tutorials on our blog and YouTube channel.
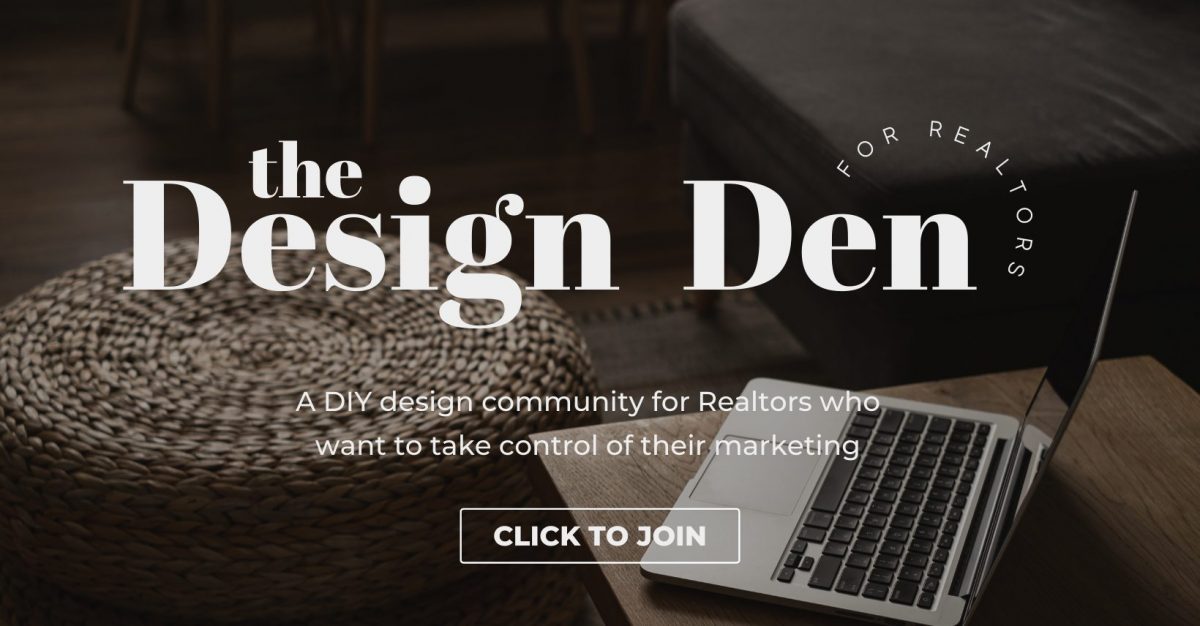
Drop any questions or comments below! And if you want more daily tips about taking your business’s marketing into your own hands, be sure to join our FREE Facebook group The Design Den!