

Let me guess—you’ve opened up a Canva template, tried to make a few “simple” tweaks, and ended up with something that looks like a Frankenstein’s monster of mismatched fonts, colors, and images? 🙃 Yeah, you’re not alone.
But don’t worry—I’m here to save you from your Canva nightmares with my 5-step no-fail process for editing templates like a pro. Ready? Let’s dive in.
Step 1: Change the Imagery
I always start with images because they set the tone for everything else. The photos you choose can instantly change the vibe of your design, so pick ones that match your brand. Want to add your own listing photo? Head to the Uploads Tab in Canva and swap out the default image for something actually on-brand.
Pro tip: If the photo doesn’t fit perfectly, just double-click it to reposition and size it until it looks good. Easy peasy.

Step 2: Change the Information
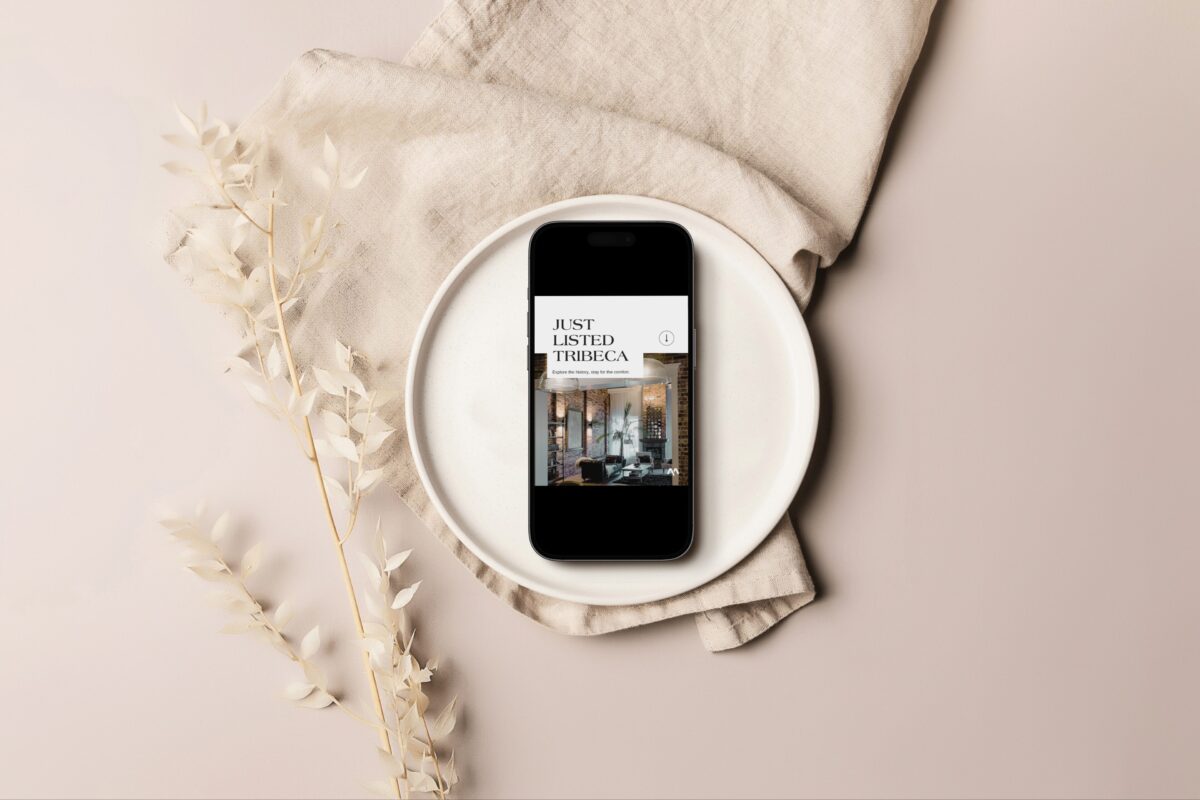
Next up—the text. We’re not selling homes in “Tribeca” today, are we? Time to make this design relevant to your listing. Click on the text box, highlight what you don’t need, and type in something that makes sense—like “Just Listed in Toronto.” If the text gets a little wonky, just resize the box or move things around until it fits nicely.

Step 3: Update the Fonts
Fonts can make or break your design, and Canva makes it super easy to swap them out. Click on the text, head to the Font Tab, and choose a font that’s part of your brand (you have a brand font, right? 😉). Canva even lets you play around with different weights, so you can make your heading bold and your subheading regular.

Instant pro-level upgrade!
Step 4: Swap the Colors
Now we’re getting into the real transformation. The trick with colors is simple: light for light, dark for dark. You don’t want to mess with the color scheme too much, but you do want to make sure it feels like you. Copy and paste your brand’s hex codes (that’s just a fancy term for your color codes), and swap them out in the Color Tab. Easy, right?
Oh, and if you don’t know your hex codes off the top of your head (who does?), Canva has a nifty color picker tool to help you grab the exact shade you need.

Step 5: Tweak the Elements
Now that you’ve got your photos, fonts, and colors sorted, it’s time to look at the elements. These are the little design details—logos, icons, shapes, and lines—that pull everything together. Got a logo that needs to go in? Pop it in and make sure it matches the rest of your design. Canva lets you adjust the size, color, and position to get it just right.
Pro tip: If something’s getting in the way of your edits (like a stubborn photo), right-click and lock it in place. This will save you from accidentally dragging the wrong element all over the screen and tearing your hair out.


And voilà! Your Canva design no longer looks like it’s been stitched together in a dark lab. You’ve taken it from Frankenstein to fabulous with just a few tweaks.
P.S. If you loved this and want more fun design hacks, be sure to check out The Canva Lab. It’s our monthly membership for realtors who want to level up their marketing one design hack at a time. Packed with bite-sized trainings and templates that will make you stand out!