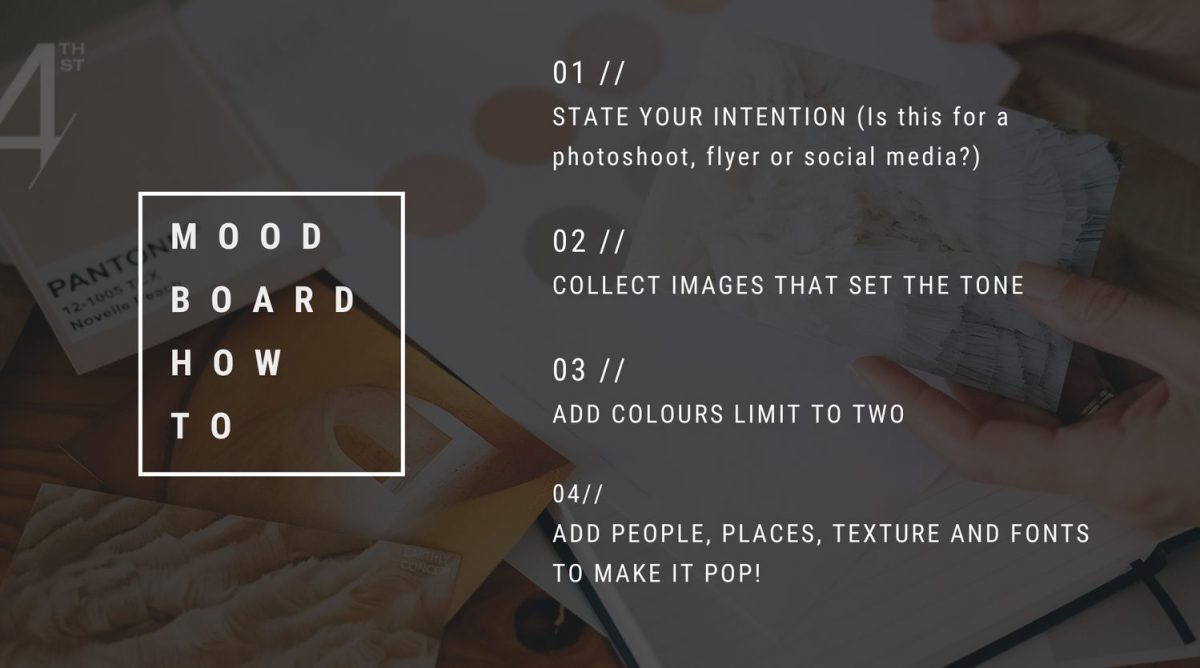
“Moodboard” is just a super fancy way of saying “inspiration for your project.” Moodboards are an amazing place to gather your thoughts or convey your ideas to someone else…or a group of someone elses.
While the term moodboard gets thrown around a lot – usually for interior design or party planning projects – there are so many other uses and benefits. Yes, even for Realtors! From brainstorming your branding to sourcing inspiration for your next open house flyer, you can use moodboards to ensure everyone on your team (or just you if you’re holding down a one-agent show) understands the scope of the project. Think of it like a scrapbook that organizes all those ideas floating around in your head and easily (and clearly!) communicates them to photographers, graphic designers, assistants, or marketing agencies.
Today, I want to walk you through creating your own moodboard to help curate your brand visuals directly in Canva. Side note: This is a tutorial for those who already have a general idea of what they want their branding to look like. If you’re starting from square one, head over HERE to take the quiz and get sorted into one of the 6 Fourth Street Creative brand styles.
Ready? Let’s dive in.
ONE | PHOTOGRAPHY
Head over to the Photos tab and start collecting your photos. You’ll want at least 10 – and make sure they reflect your personal style, interior design elements, decor, and ideal clients (photos of moms with their kids, for example). When you’ve collected a bunch, start eliminating the ones that don’t quite convey the look you’re after. Eventually, you’ll whittle ‘em down to about 5.
Pro tip: Pay attention to the tone and colours in the photos because you want these to match your brand style. If you want your photos to look cohesive and serve up the same style, click on the 3 dots above any photo in Canva to open that photographer’s gallery.
Imagery is a very important part of any moodboard so it’s ok to take your time here. Need a few days (or even weeks) to curate the perfect images? No problem, friend!
TWO | TEXTURE
To find textures in Canva, head over to the Photos tab and type “texture” into the search box. You *probably* aren’t using real textures in your marketing material – we actually want to use texture to add dimension to your brand visuals. I like to imagine using this pattern or texture as a background for an Instagram post. I ask myself, “If I were to put a quote on this texture or pattern, would it fit into the overall look I’m trying to achieve for my feed?” This will help direct your decision-making.
THREE | COLOURS
Choose 2 to 5 colours you want to use in your branding. Head over to the Elements tab,
select a shape, change the colour, and then duplicate it so you can add more colours to your moodboard.
If you’ve spent time carefully selecting photos for your moodboard, then you most likely have similar tones throughout your photos. (Maybe you ended up with moody dark blues or bright pops of red.) This makes it so much easier to create a colour palette: Simply select the Colour tool and Canva will extract the colours in your photo. You can use those to quickly create a colour palette for your moodboard.
Need help creating the colour palette for your brand? Click HERE.
FOUR | KEYWORDS
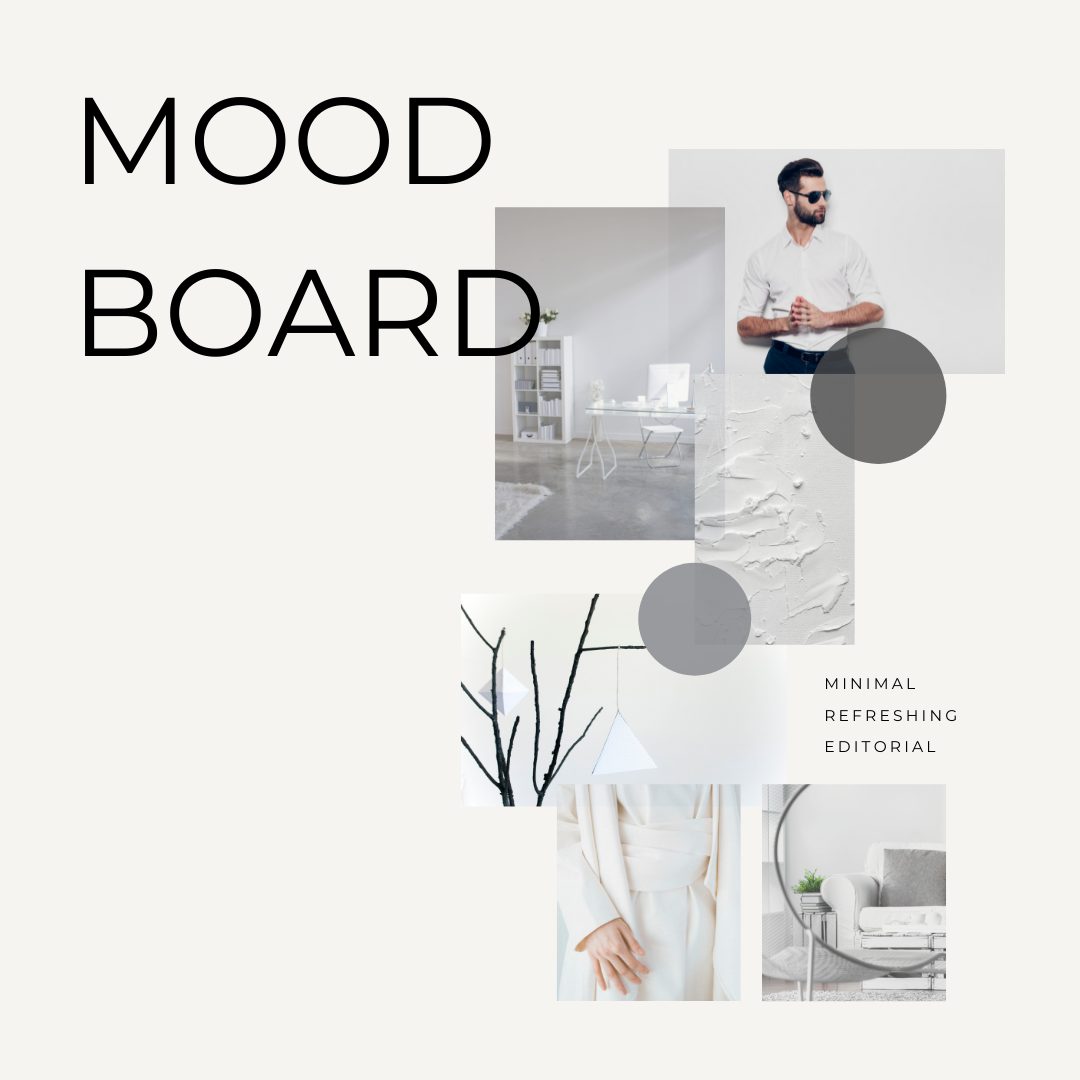
Photos and colours are fantastic for visually conveying the look of your brand, but this can still be subjective if you don’t add context around your choices. Bring up a text box by hitting “T” on your keyboard and then include 3 to 5 words that really encapsulate your vision for your brand (i.e., minimal, modern, refreshing, editorial, boho chic, laid back, energetic, simple, elegant, refined – so many options!).
FIVE | REFINE
By now, you should have all the elements you need in a giant mess on the canvas. Don’t worry – it’s not gonna stay messy for long because now it’s time to refine, baby! Stary by moving everything around until it flows nicely and looks exactly how you want it to look. I like to add a little bit of transparency to some images that are overlapping others and work with contrasts by changing the shapes and sizes of photos and shapes. Once you’re done and happy (enough! I could spend DAYS tweaking a moodboard…) with your moodboard, it’s time to save it as a PDF document and send it to members of your team, photographers, marketing agencies, or designers you’re working with.
There you have it! Moodboard 101. Now that you know the basics you can create more moodboards for your social media marketing, staging, and any projects you might have in the pipeline!