

As a realtor your time is limited, you’re busy with showings, previewing properties, drafting offers, and networking. Design is probably not on your list of priorities. What if I told you creating eye-catching marketing pieces didn’t take more than a few minutes and you could create impressive and designer-worthy artwork for your listings in minutes using only a free online tool? Well, my friend today is your lucky day, If a designer isn’t in your budget and/or you have a DIY spirit and want to learn how to create awesome real estate marketing pieces in minutes for free in Canva, read on!
STEP ONE – DECIDE ON YOUR PROJECT
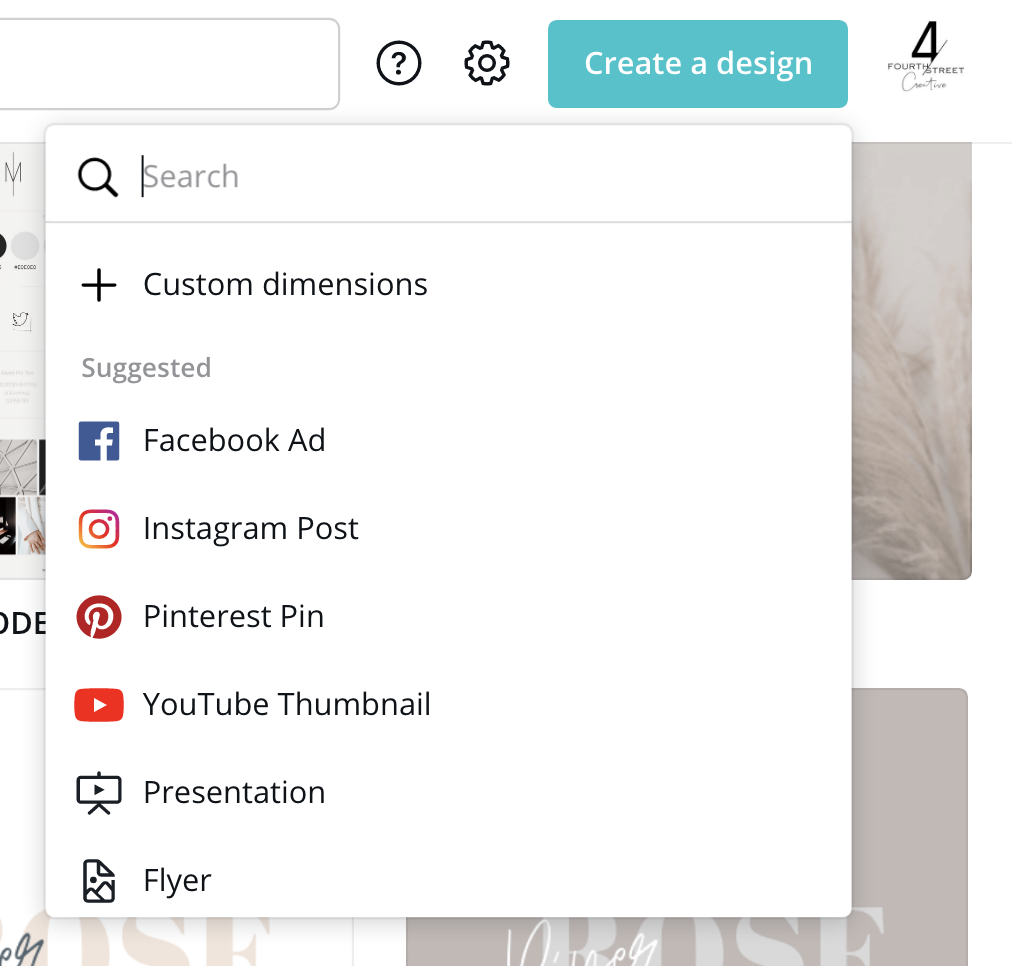
Head over to the “create a design” button and choose your project. For the purpose of this tutorial, we’ll be creating a Feature Sheet, so we’re selecting “Flyer” from the drop-down. This will open up your canvas in your Canva editor.
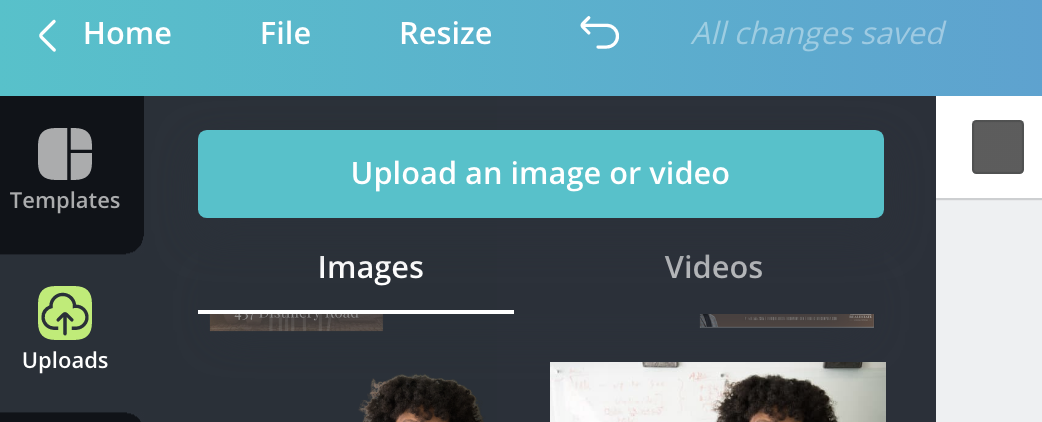
STEP TWO – UPLOAD YOUR LISTING PHOTOS
Head over to the side panel and a click on upload, locate your photos and import them into Canva. Now we are ready to start the design process!
STEP THREE – CHOOSE COLOURS
If you have brand or brokerage colours you’d like to use make sure you know your HEX codes- a 6 digit code defining the mix of red, green and blue (RGB). If you don’t have colours you can head over to designseeds.com or read this article to get inspired! Choose two colours to keep things easy (one dark and one light) Jot down the hex codes and you’re ready to get to work.
STEP FOUR – CREATE A BACKGROUND
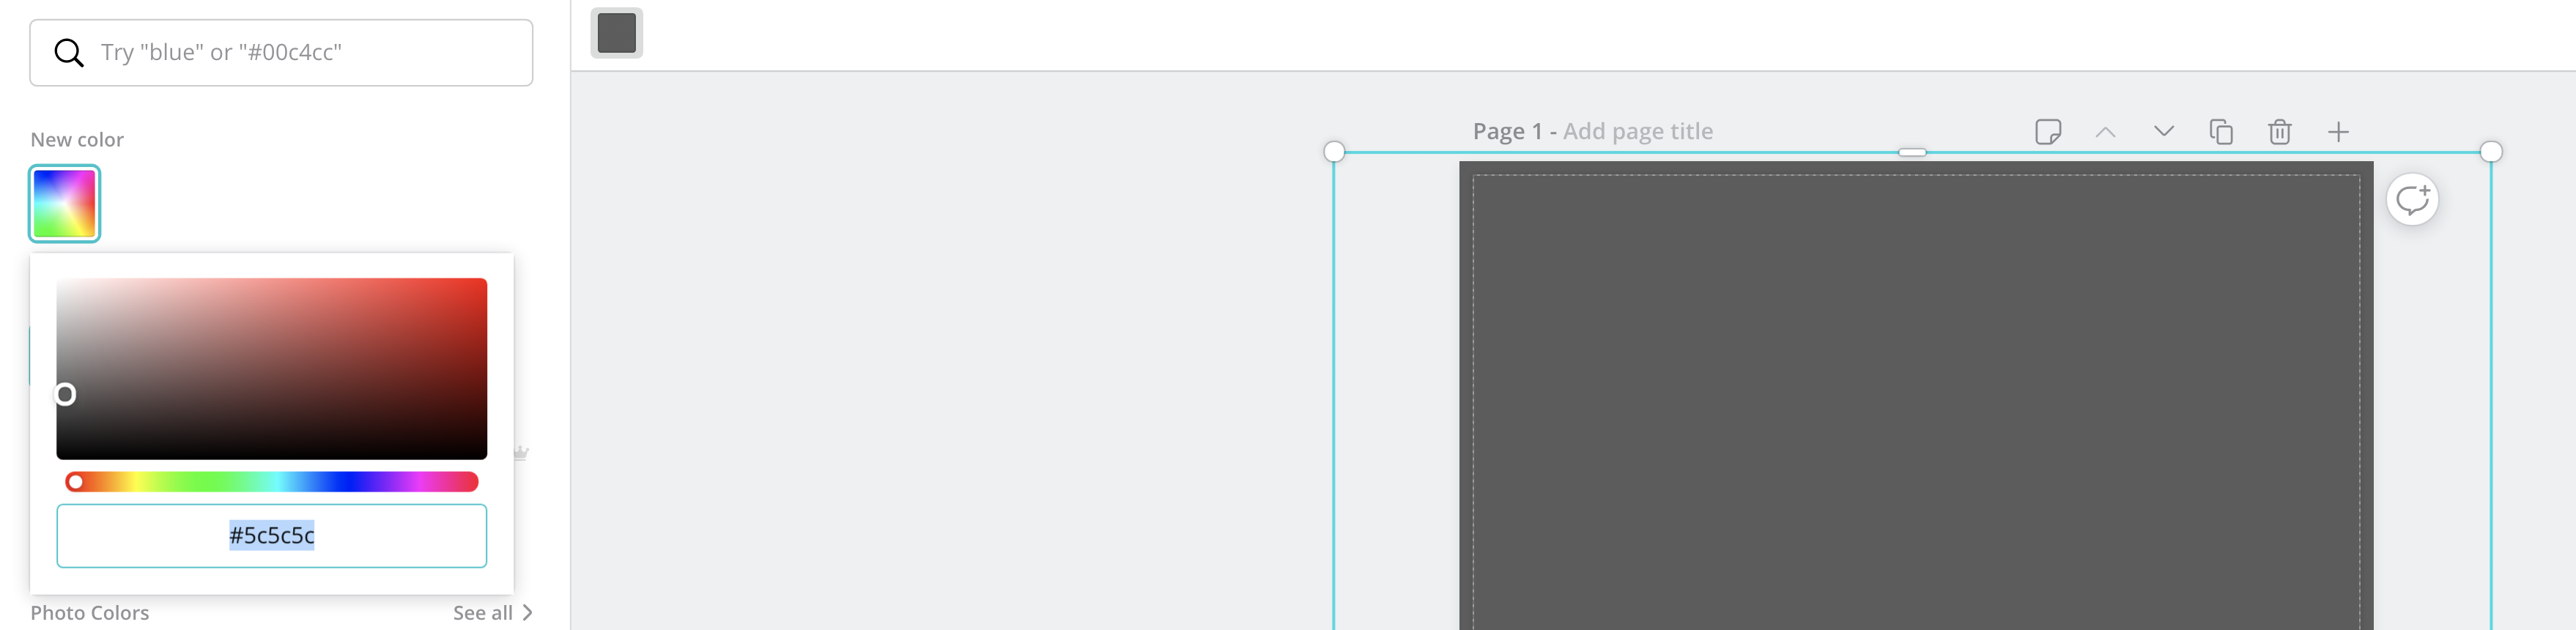
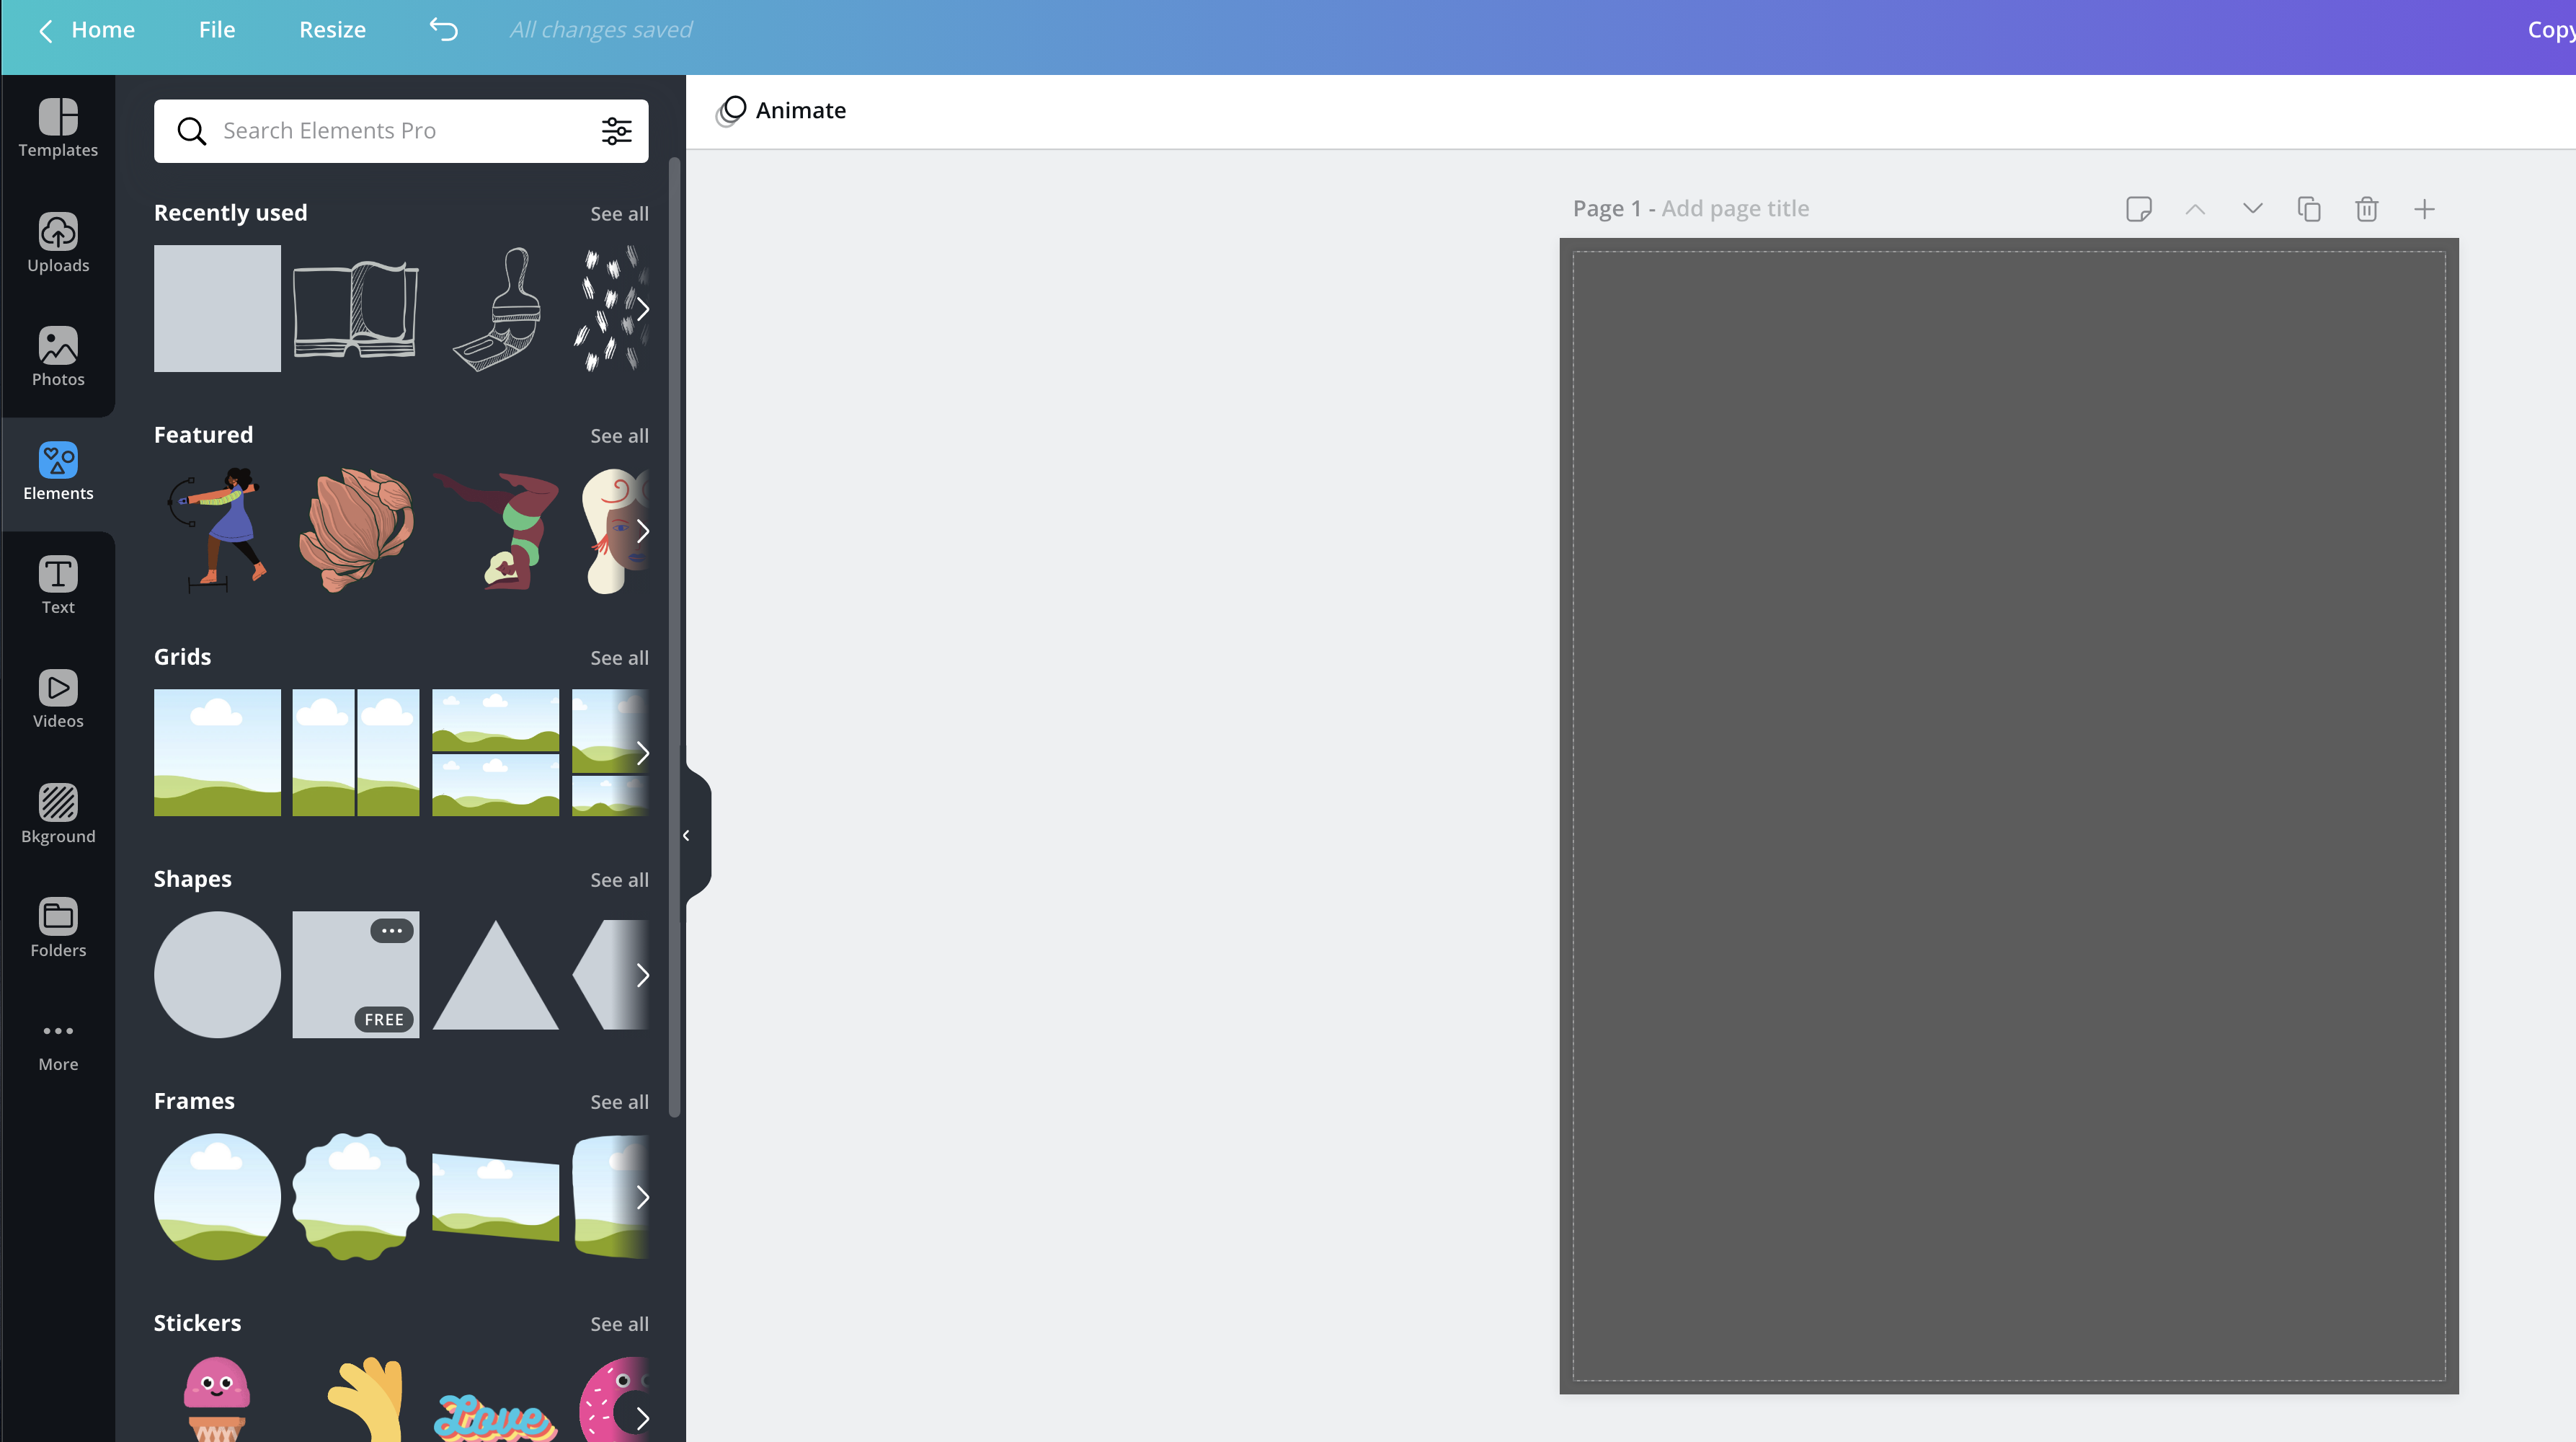
For the purpose of this tutorial, we will be using a solid colour background, but you can always omit the background if you’d like it to be white, or head over to the backgrounds tab to add some added visual elements to your design. To add your solid colour background head over to the side panel > elements > shapes and select the square by clicking on it once.
Now drag the edges to the border and change the colour by selecting the colour box on the top panel. Click on the colour wheel to input your hex code or choose a colour from defaults.
STEP FIVE – PLACE PHOTOS
Remember who your audience is – Home Buyers. This means they want to see the best qualities of the home, so choose the photos that portray the home in its best light. To bring them into your canvas head over to the side panel > uploads and select the photos you want to bring into your first page by clicking on them once.
Now resize them the way you want them to be laid out. In this template, we’ve left room for the property address and a URL at the bottom.
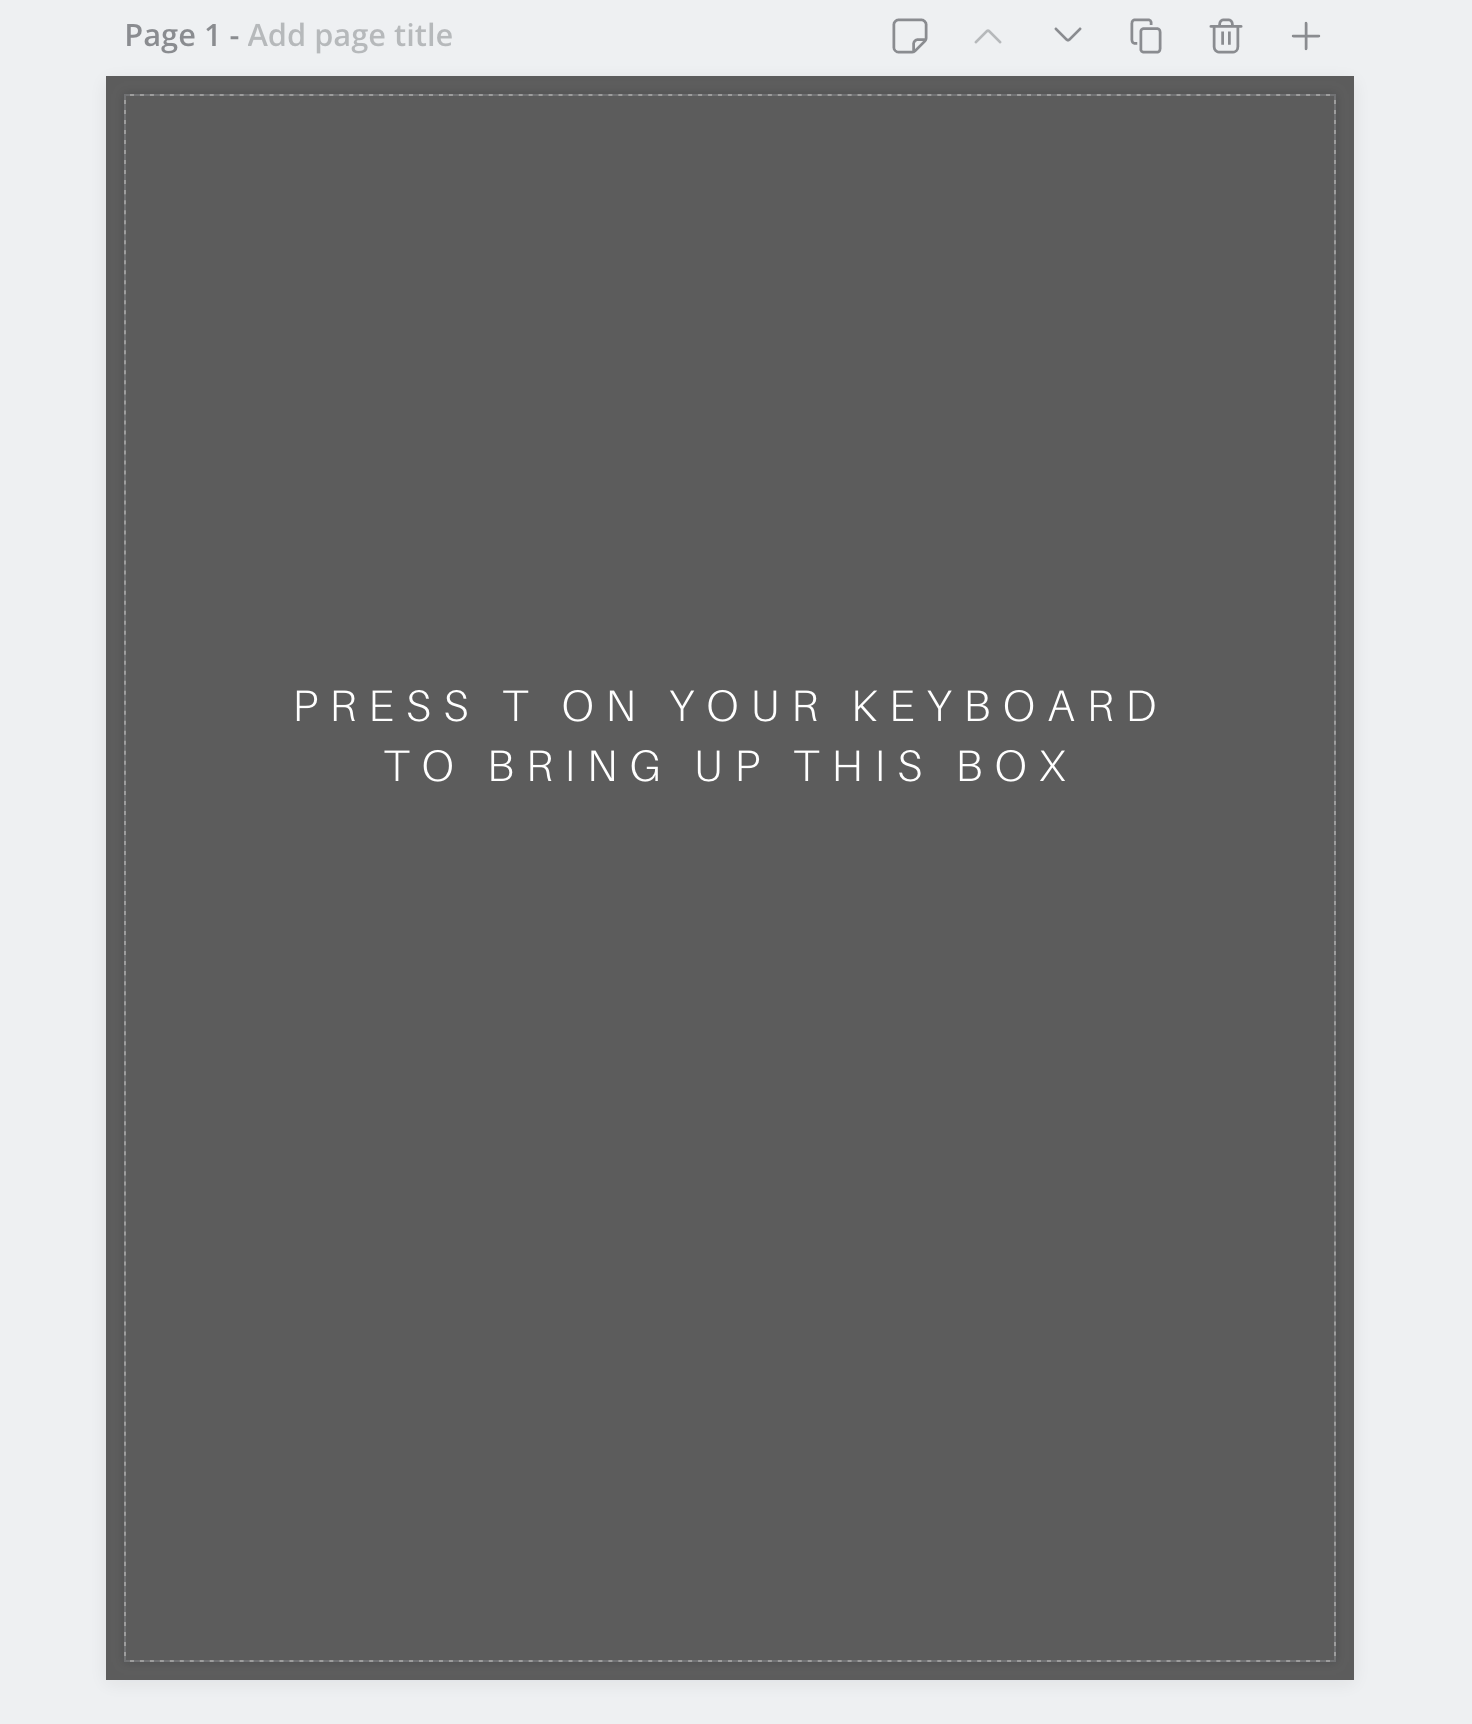
STEP SIX – ADD TEXT
To create a text box simply hit “T” on your keyboard. Now type in the property address. Next, change the size by heading up to the top panel and selecting the size button. You want the property address to be easy to read and visible so a font around 35pt is ideal.
Now select your font by hitting the font box in the top panel. If you want a more modern design type “modern” into the search bar. Going for a more classical look? Try typing “serif” into the search bar.
Add the property address or your website to the bottom of the brochure, a good rule of thumb is to make this half the size of your title font, this will create a nice visual balance between the two.
Pro tip: adjust the spacing to achieve a more unique look.
ON TO PAGE TWO
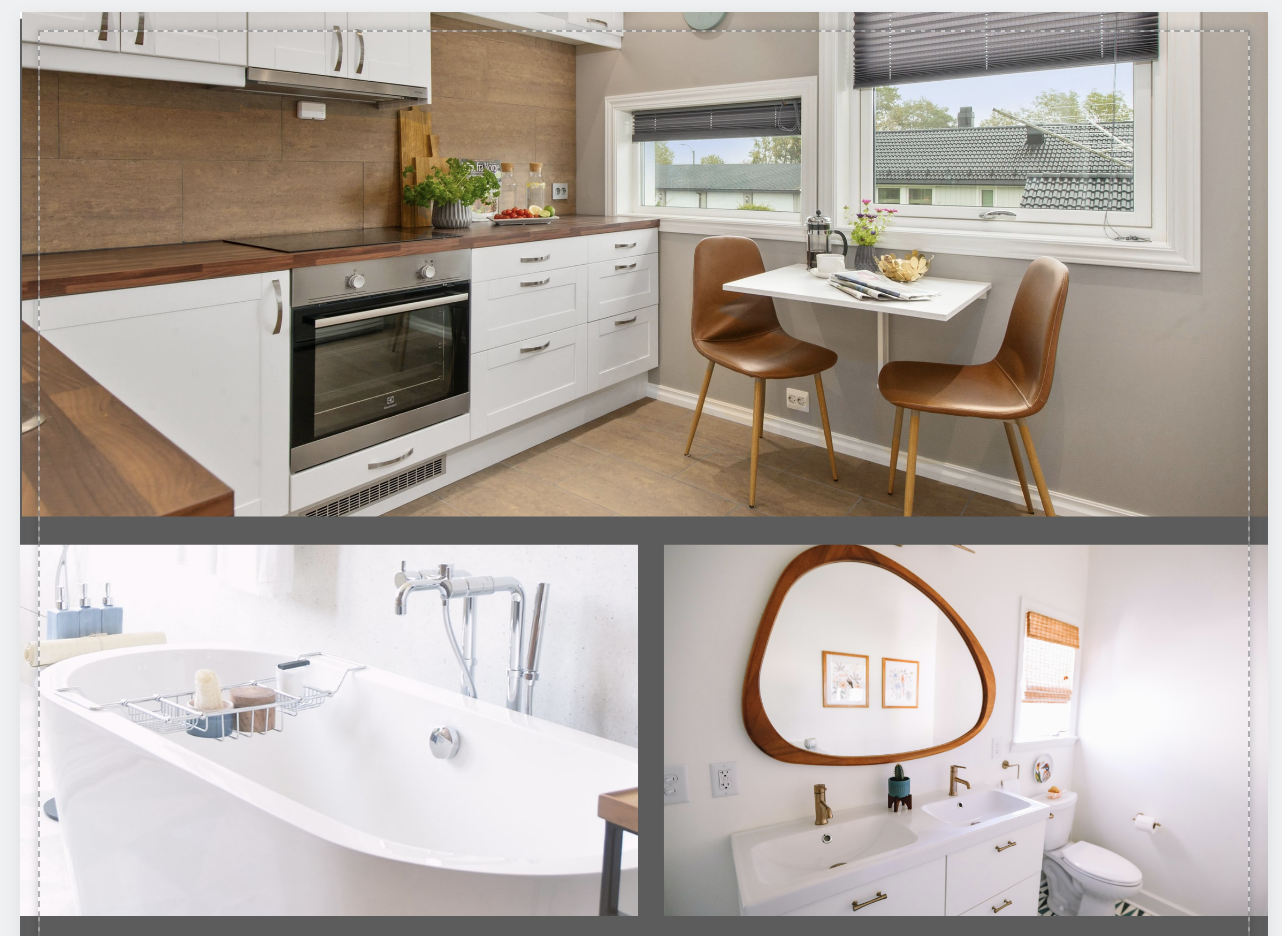
STEP SEVEN – CHOOSE PHOTOS
On the second page choose one banner photo that showcases the interior of the home’s most impressive feature, or one that shows a wide angle of a room to draw the buyer in. Then select two or three “supporting photos” – I like to choose rooms where people generally spend the majority of their time – think bedroom, kitchen and family room. If the home has undergone a renovation you might want to include the rooms that have been upgraded.
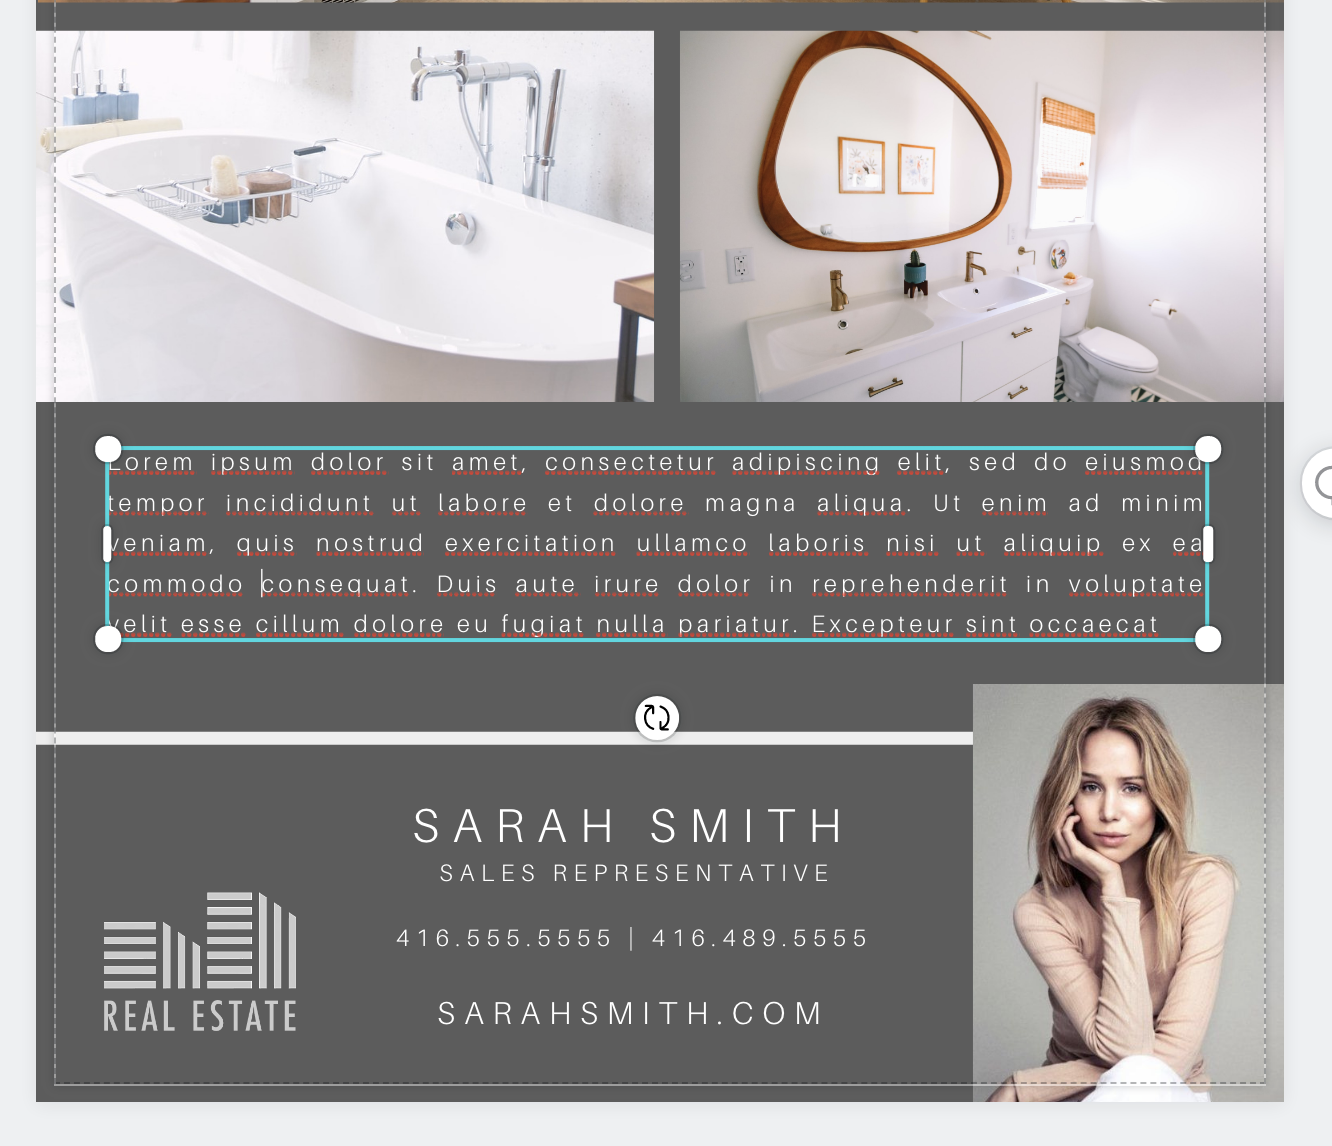
STEP EIGHT – LISTING COPY
Once you’ve placed your photos it’s time to add another text box (“T” on your keyboard) to add your listing copy. The size of descriptive copy can range between 12-14 pt, any bigger looks clumsy, any smaller is difficult for some people to read.
Adjust the alignment by clicking the paragraph justification tab in the top panel.
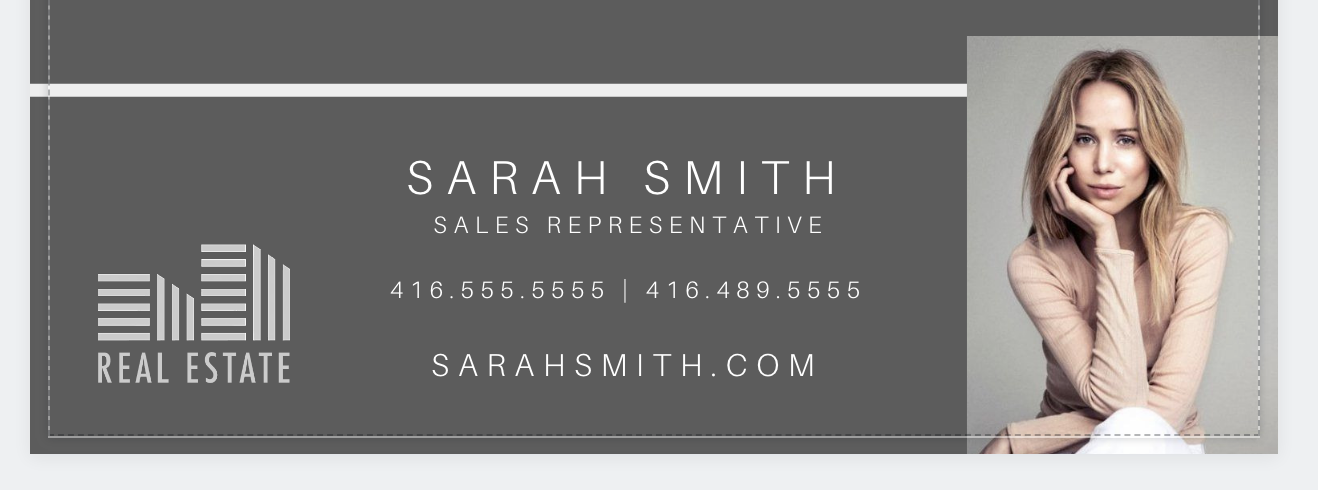
STEP NINE – AGENT BANNER
Now it’s time to add your information! Upload your brokerage logo, personal logo and headshot.
Place your brokerage logo and headshot on opposite sides of the feature sheet and your contact information in the middle, this will create a nice visual balance. To add your contact information create a text box (“T” on your keyboard) you want this title to be prominent but not as large as your listing heading, 24 pt is good (remember you can always adjust the letter spacing if you need to cheat more room).
Your title or designation should be around half of your name size. In this example, we’ve used 12pt.
To create a separation between the listing and your contact information you can either create another rectangle box using your second colour or simply draw a line by heading over to elements and searching for “line” in the search box. These are both optional steps.
STEP 10 – PROOF AND SAVE
Check that all spelling and grammar is correct. If you are printing on a home printer you can head over to download> select PDF Print and download your file. Congrats you did it!
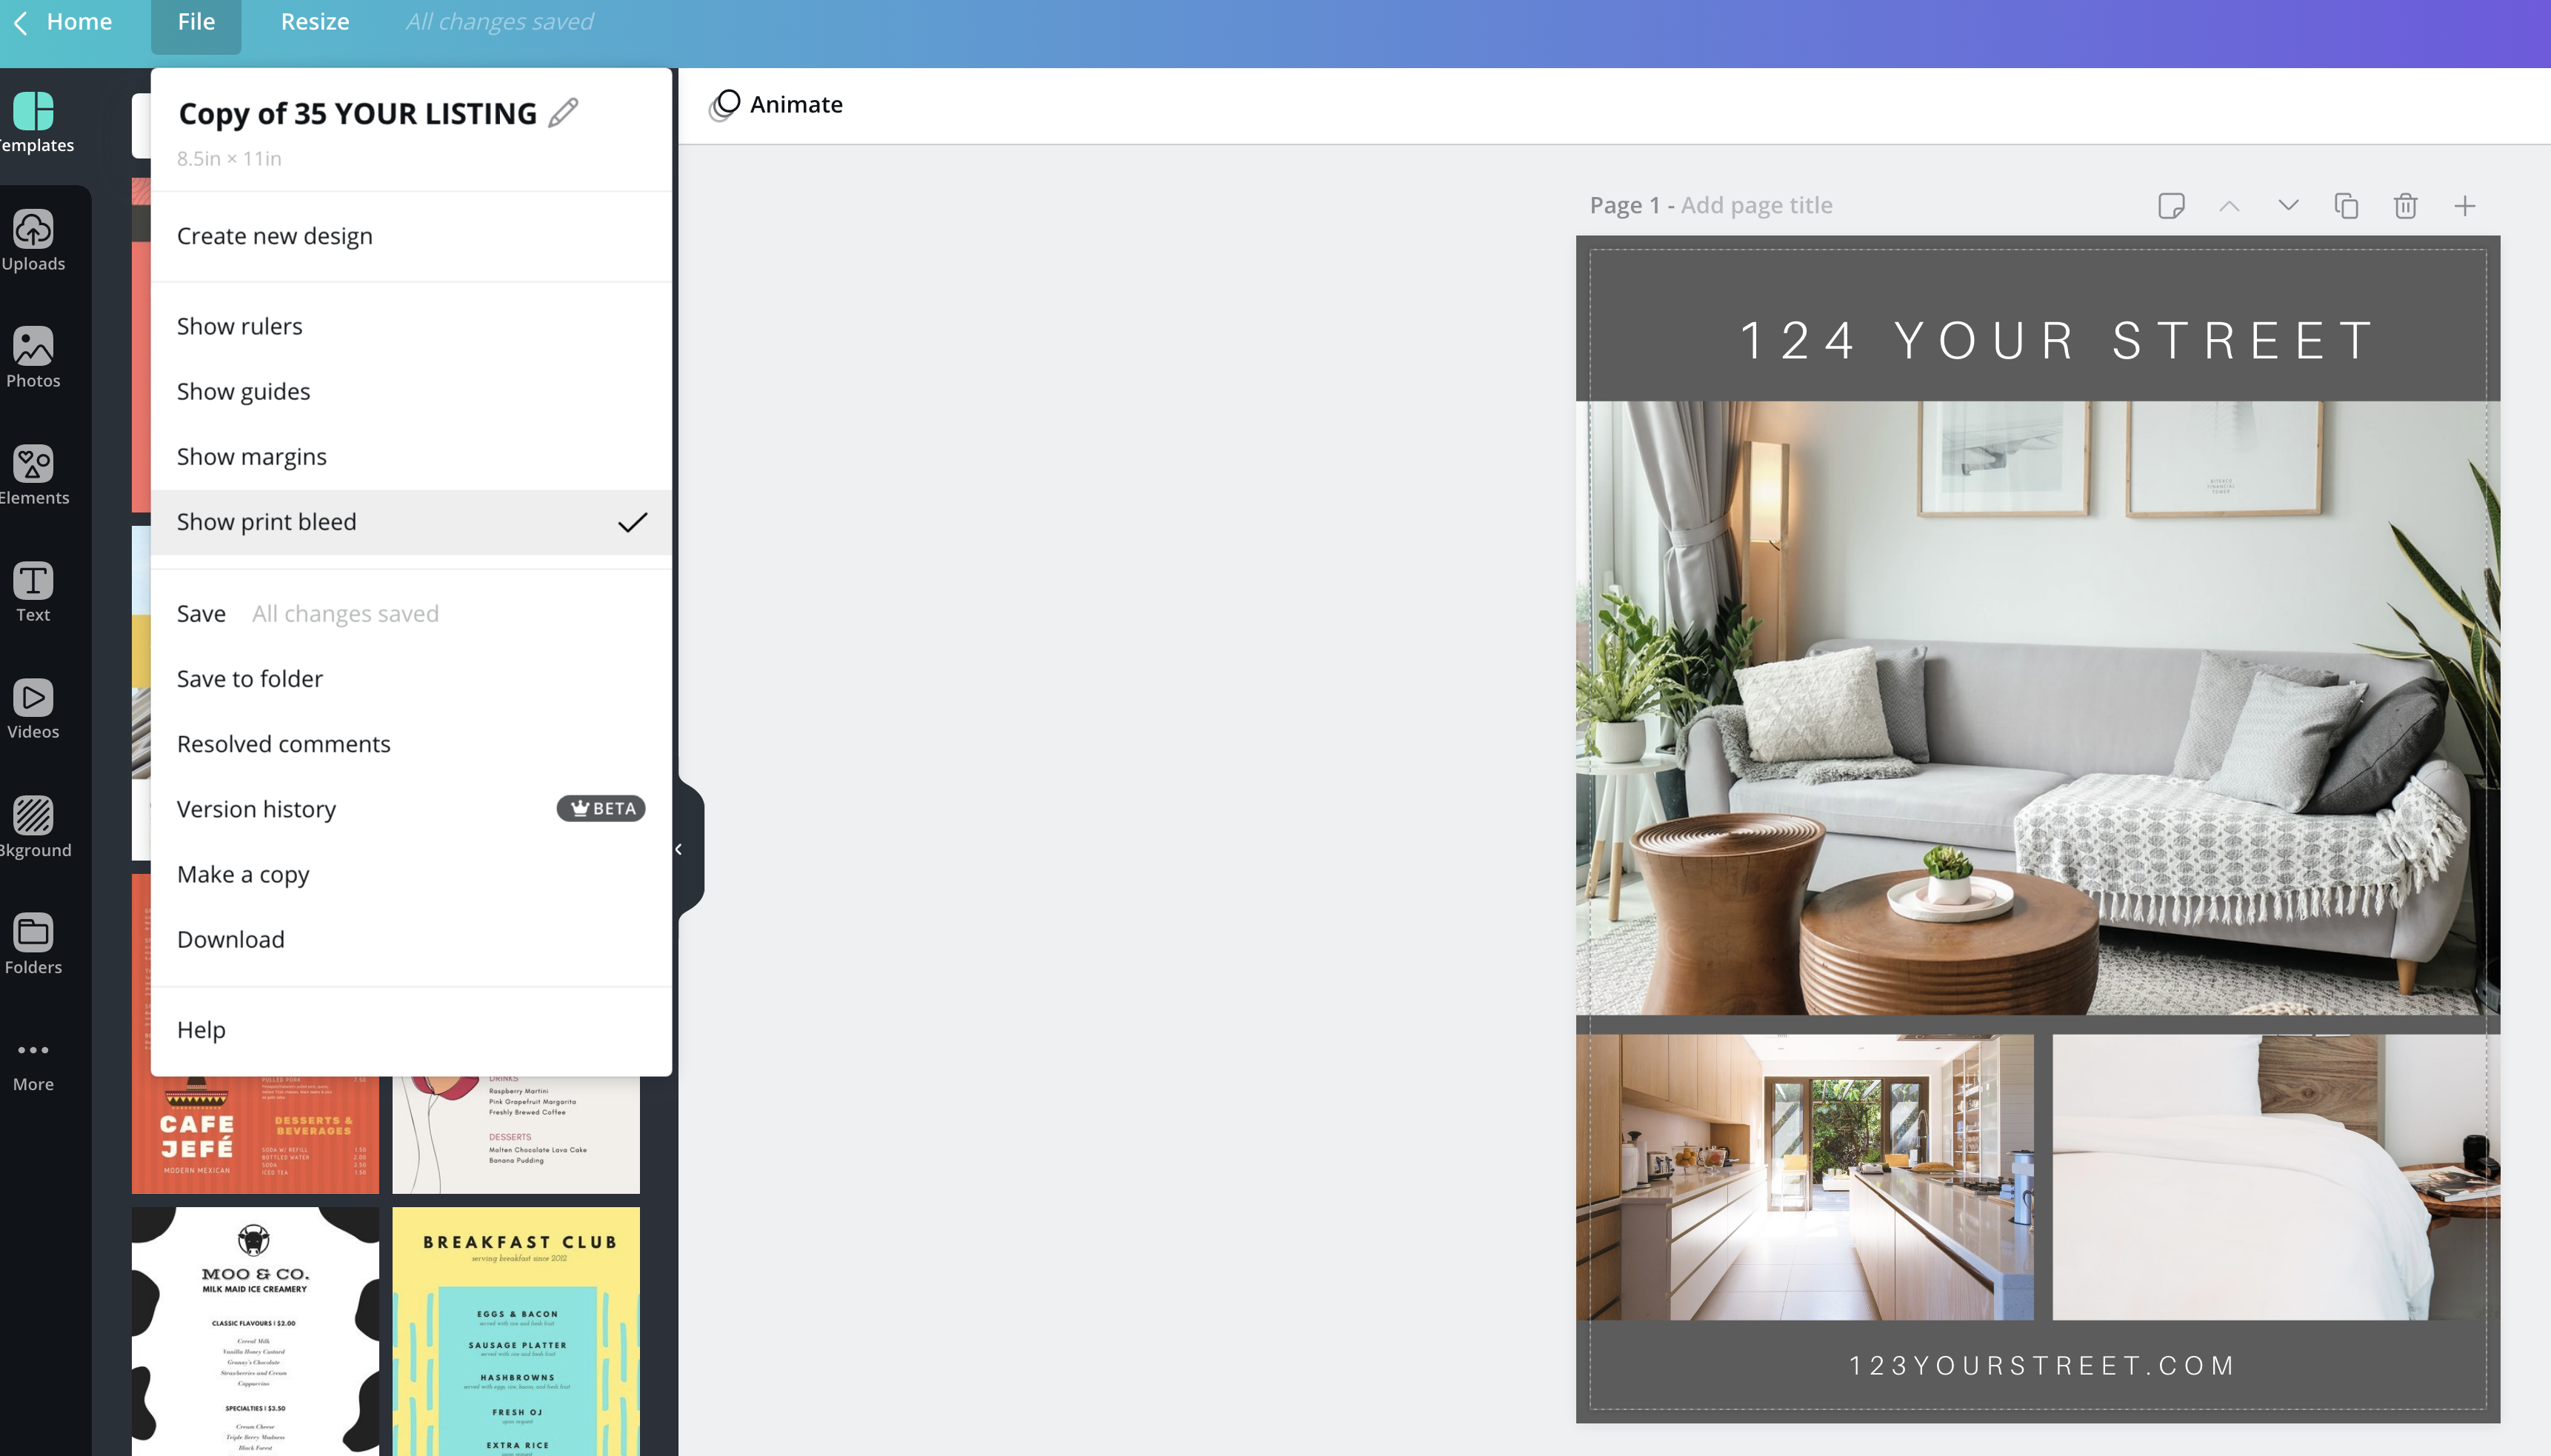
If you are having your flyer printed professionally, then head over to file > show print bleed which will show the cut marks where your printer will be cutting your flyer. Make sure all of your coloured boxes and photos bleed out past the document edge.
Ensure all of your copy or anything you don’t want to be cut off is ⅛” within the cut lines. This will ensure your items are not too close to the edge of the flyer when printed and cut. Now head over to download> select PDF Print and make sure the “cut marks and bleed” box is checked. Download your file. Congrats you did it!
You now have an awesome Feature Sheet template to use for all of your listings. Whether you are creating a flyer, postcard or social media post, the same rules apply and remember the first one is always the hardest, once you’ve mastered the basics, you’ll soon move on to be a Canva pro and be able to create stunning on-brand content in minutes each and every time.
Ready to kick it up a notch? Join our 5-day Canva challenge where we’ll walk you through how to create a set of curated, on-brand Instagram post templates for your feed.