

I am so excited to teach you some tried and true designer tricks to get you an agent banner you’ll be proud to add to your social media posts. Before we begin I just want to stress, that these banners should be used in some of your posts but not necessarily all as it can overwhelm your feed and make it look salesy (yuck) but an on-brand agent banner is great for posts that market your team, your brand, and testimonials. We cover all of this and more in our 5-Day Canva Challenge, but for now, let’s dive into creating a stunning agent banner in Canva.
STEP ONE | CREATE DESIGN
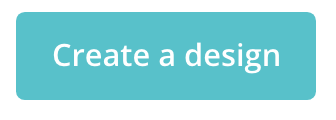
Head over to the “create design button” and choose what you want to design. Don’t worry about the size of your banner, we can copy and paste it into any future design. For now, I suggest starting with something easy like a social media post.
STEP TWO| IMPORT HEADSHOT
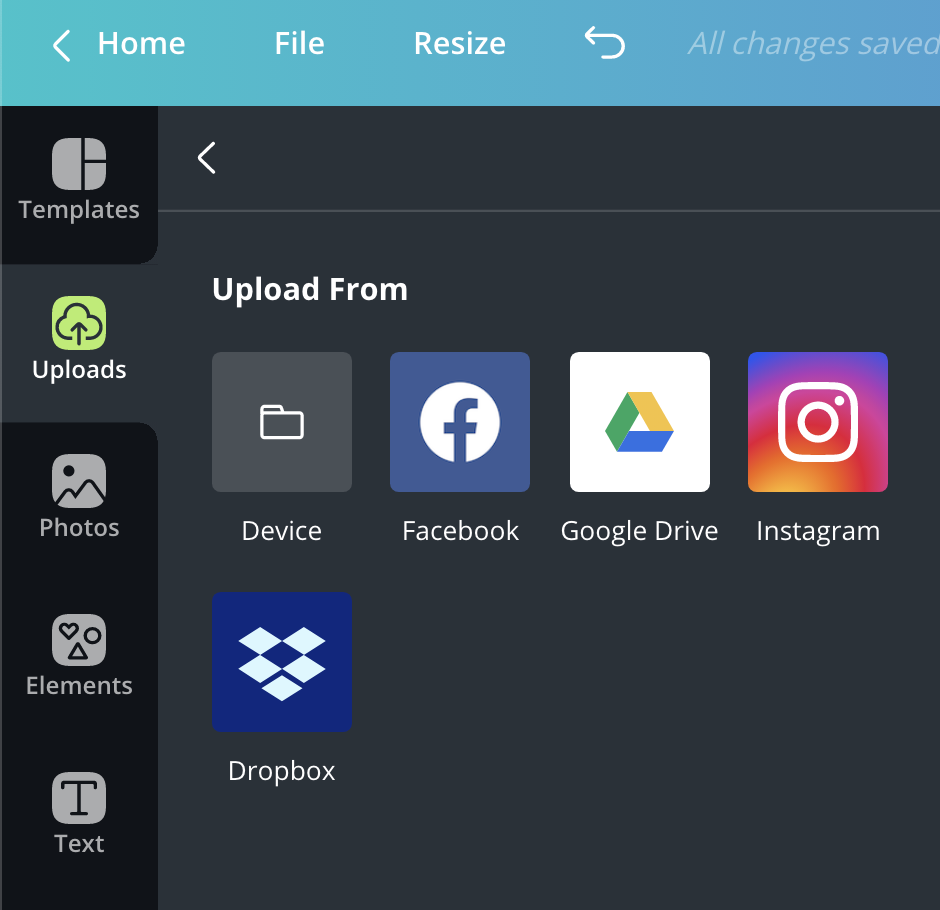
Head over to uploads and upload your headshot and logo. If you need to change the colour of your logo play with the settings in “adjust” or use an online colour changer tool then upload it into Canva.
STEP THREE| CHOOSE COLOURS/FONTS
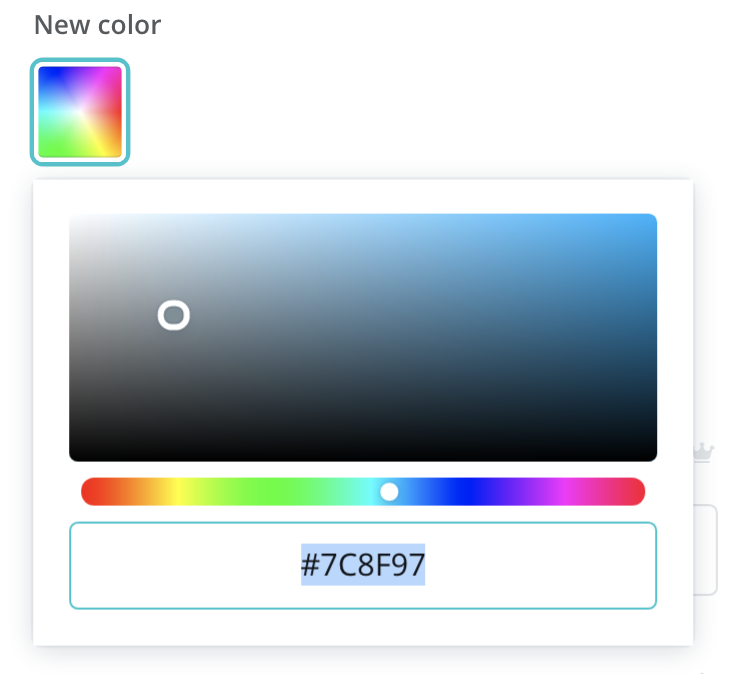
I always love to grab colours from agent headshots to make sure the design is as cohesive as possible. To do this in Canva pro just head over to the colours panel and choose a colour from the photo. Otherwise, you can use the colour wheel to find a colour that is as close to your headshot as possible.
STEP FOUR | USE FRAMES
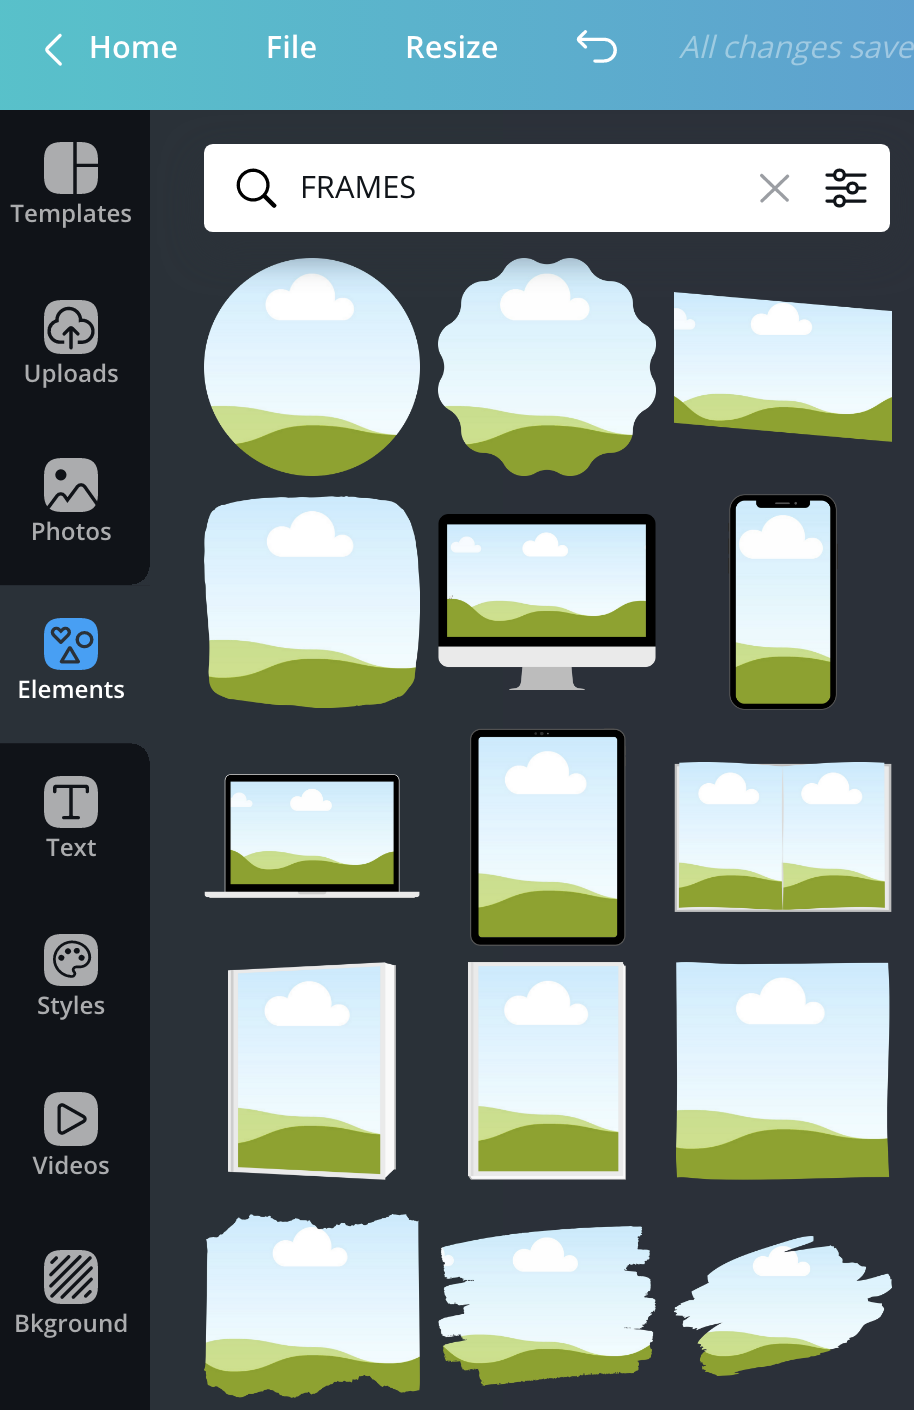
Now for the fun part, head over to the elements section and type in frames. Endless frames will appear that you can use to create a unique and distinctive agent banner. You can do something as simple as choosing a circle or using fun paintbrush options for a more unique look. If your headshot doesn’t have a background you can choose to not use frames at all and just use your headshot as is. Using frames with photos that have backgrounds creates a more modern look instead of just plopping your photo into the post as is.
STEP FIVE | REMOVE BACKGROUND
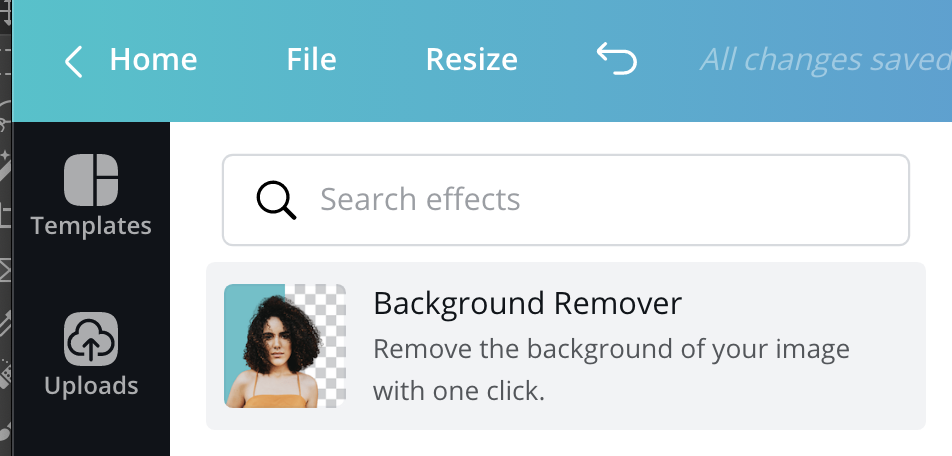
This step is optional but if you prefer your photo without a background you can use Canva Pro (insert link), and use their easy background eraser or use a free online line tool
STEP SIX | ADD ELEMENTS AND LOGO
You can add any information to your banner including name, designation, contact info and logo.
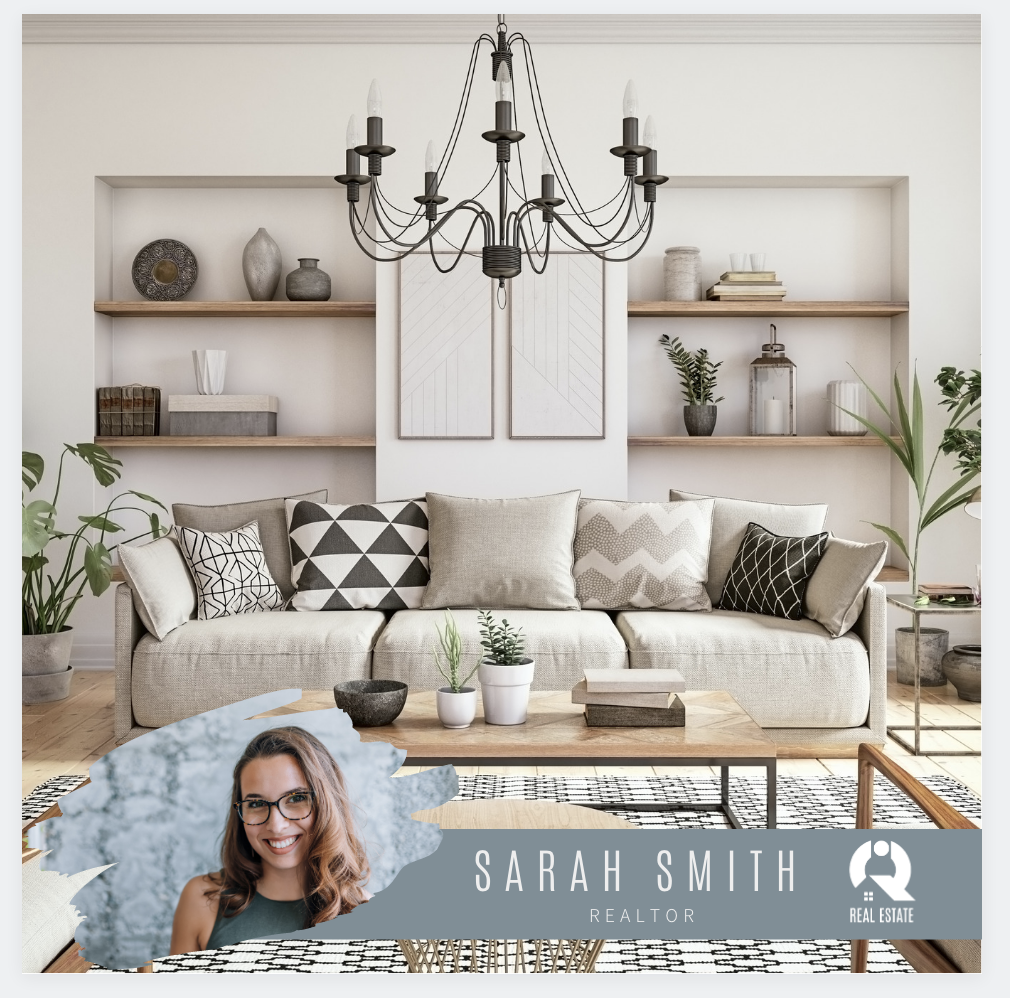
Once you’ve included all the information you’d like to play around with the design until you are satisfied. When you are ready to use your banner on additional marketing pieces just Copy and paste the elements into your new design and voila! An agent banner that creates a nice cohesive and stylish look to all your marketing pieces.