Agent banners can be a fantastic way to add a little branding to your designs. Whether that be Instagram posts, property brochures, or farming material like neighborhood flyers, you’ll want to use these to make sure your future clients learn to recognize your unique so when they are ready to buy or sell their home the choice on who to sue as their realtor will be simple – YOU!
I’m going to walk you through how you can use Canva to make an agent banner that you can easily resize for any project. Ready? Let’s dive in.
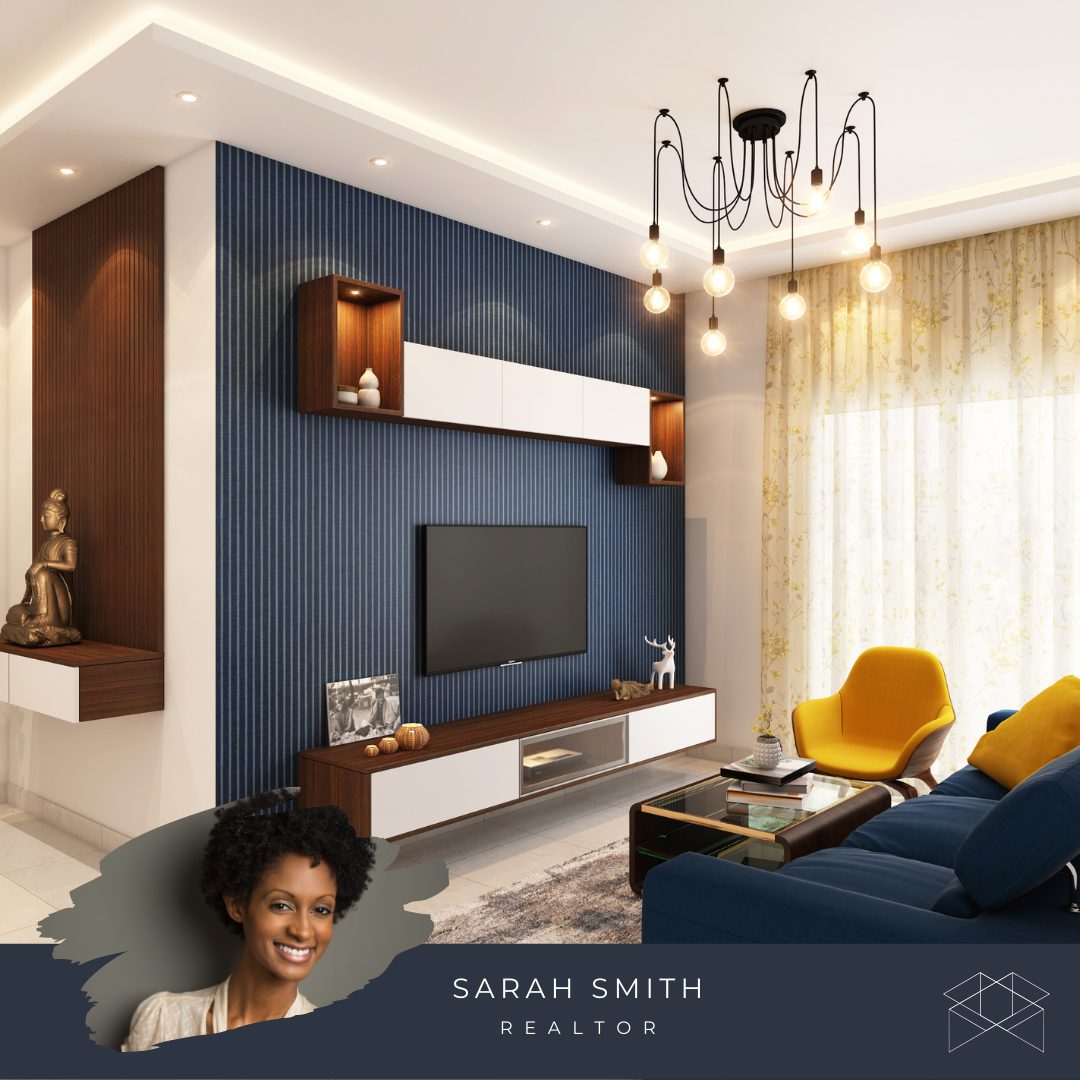
BANNER #1 The “No Background Image” Banner

I love this banner for when you want to include your headshot with that floating effect over your post or flyer. This is a simple stylish banner that will check all the boxes – Headshot, info, and logo
Upload your headshot into Canva
Head over to effects > background remover (not a Canva pro member? Head over HERE to remove your background)
Head over to the elements tab and select square shape
Fill the entire width of your document and send behind your headshot
Change the colour to match your brand colours (or just choose a colour you love! Not sure? Grey is always a safe bet!)
Add your name and any details you’d like to include as well as your logo or company logo. Make sure your name is about twice the size of your designation
BANNER #2 The “Fun Frame” banner

This is a great choice if you love the background in your headshot and want to find a non-typical (aka boring) way to showcase your fine self!
Upload your headshot
Head over to the elements tab and select the square shape
Fill width of design and send behind headshot and change the colour to one you love, your brand colours or a colour from your flyer or artwork
Head over to frames and select a frame that you’d like to use
Add your headshot to the frame (double click to reposition in the frame)
Add your details (your name should be about twice the size of your designation)
Add your logo or company logo

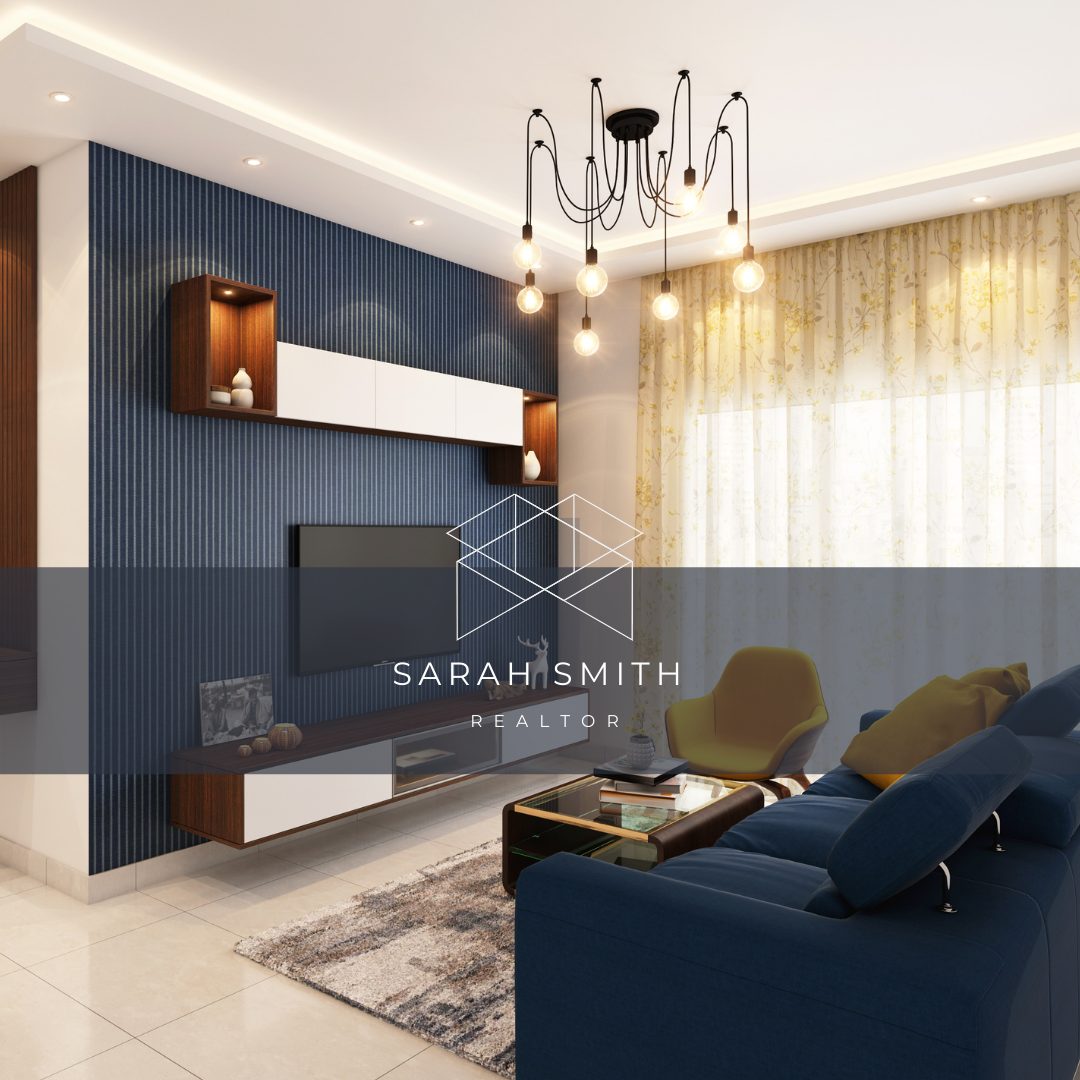
BANNER #3 The “I’m super simple and sleek” banner

Upload your logo without a background (PNG image)
Head over to elements and choose the square
Fill out the square to the width of your design and change the colour to match your brand or listing
Add your logo and team/company name
Head over to the transparency tool and reduce the transparency on your rectangle to let the image shine through a bit


